gem necklace tutorial
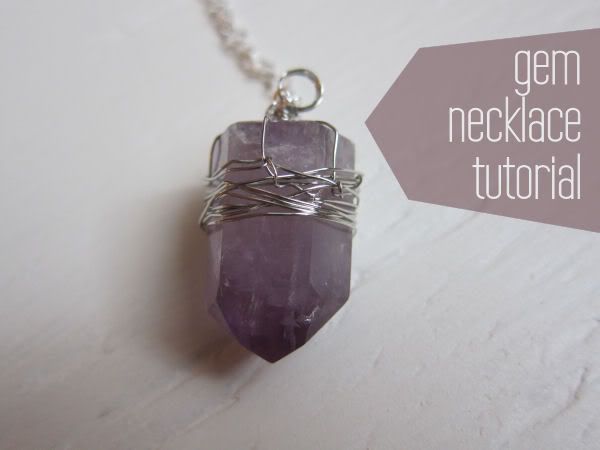
I got some beautiful rough gems from my trip to Brazil this past summer. They were so pretty & purple that I couldn't resist buying a bunch for my friends, as I knew that they would make the perfect necklace! Thus, they're fun and purple and full of great memories for me. :) Here's how you can make your own personal gem necklace.
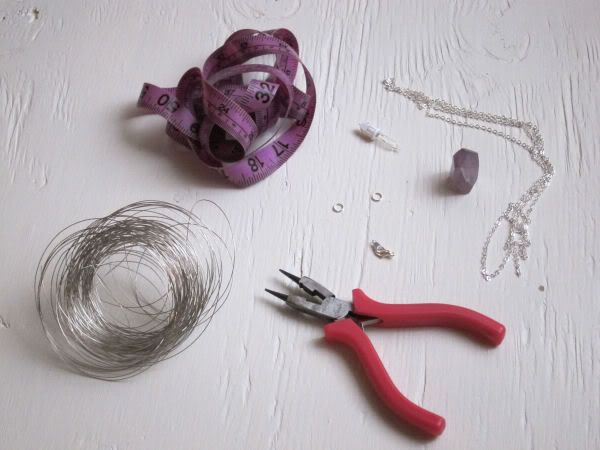
Supplies: pretty gem stone, jewelry pliers, metal wire, necklace chain, connectors, clasp, measuring tape, and Christmas light bulb (or something round to wrap around)
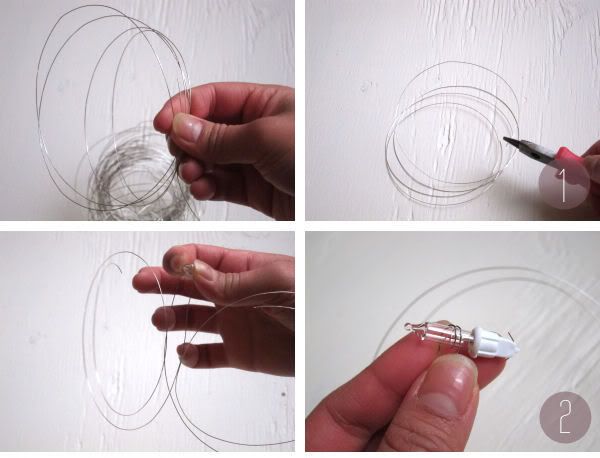
1. Cut your piece of wire, I usually cut around 4 circles of wire. 2. In the middle of your piece of wire, wrap it around the Christmas light. This will be the opening for the necklace, so wrap it around enough so that it feels strong & secure.

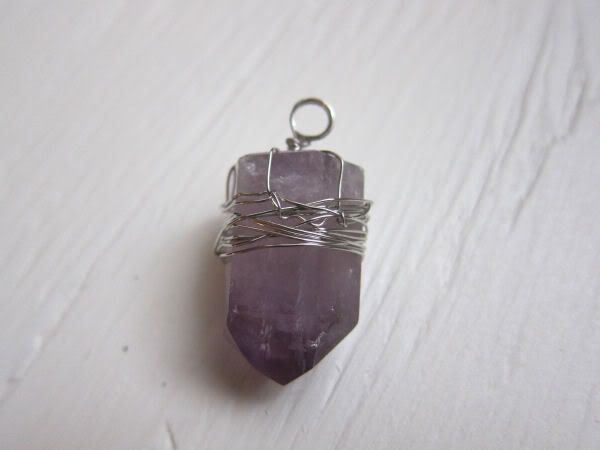
3. Twist the wire, to secure the wraps in place. 4. Place it in the center of the gem's top, and then fit & fold it to the gem's sides. 5. By wrapping the wire around, create the L pictured to create tension and more security for the gem.
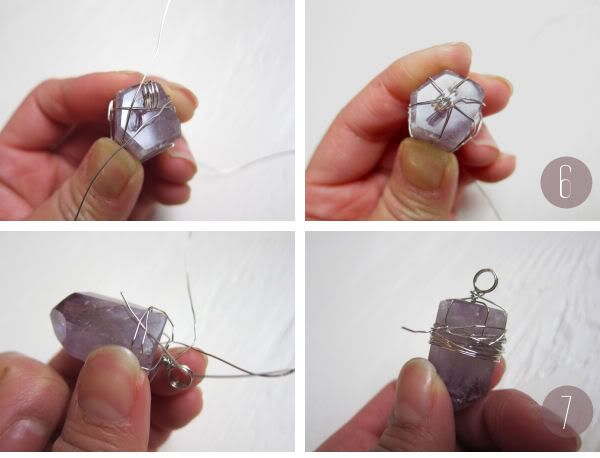
6. On opposite sides, bring the wire back up to wrap around the top, and then fold it back down. When you're done, you will end up with a six-piece pie design on the top. 7. Fit the wire underneath previously wrapped wire, and then start wrapping! Try to layer the wire to create more volume and design on your gem. Tuck the end of the wire underneath, and you've finished your gem stone!
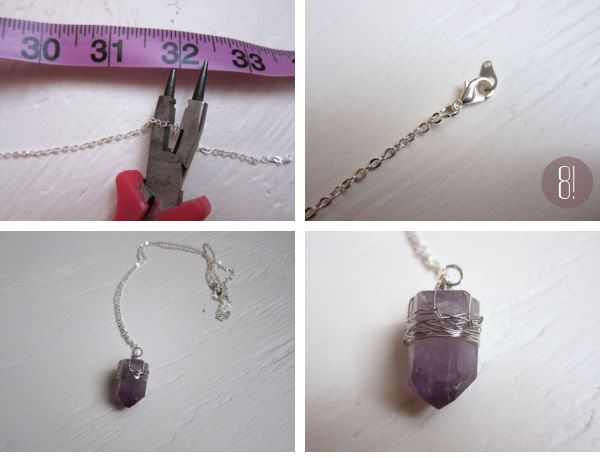
8. Cut your wire to the desired length. I chose 32". (You can use this great picture as a guide.) Then, attach the clasp with your circle connectors. And you're done!

Now go wear this bad boy out in public and have a good old time telling everybody that you made it yourself!
Happy happy weekends! xoxo.
